
Super Mario Bros. shipped in 1985 with no manual worth reading and no internet to spoil it. Everything players learned about the game, they learned by bumping into it: a brick that paid out a mushroom, a ceiling you could walk on, a pipe that dropped you three worlds ahead. Forty years later the same tricks still work, and all of them work in the browser version on this site. Here is the full list, in the order you meet them.
World 1-1: the hidden 1-Up and the coin room
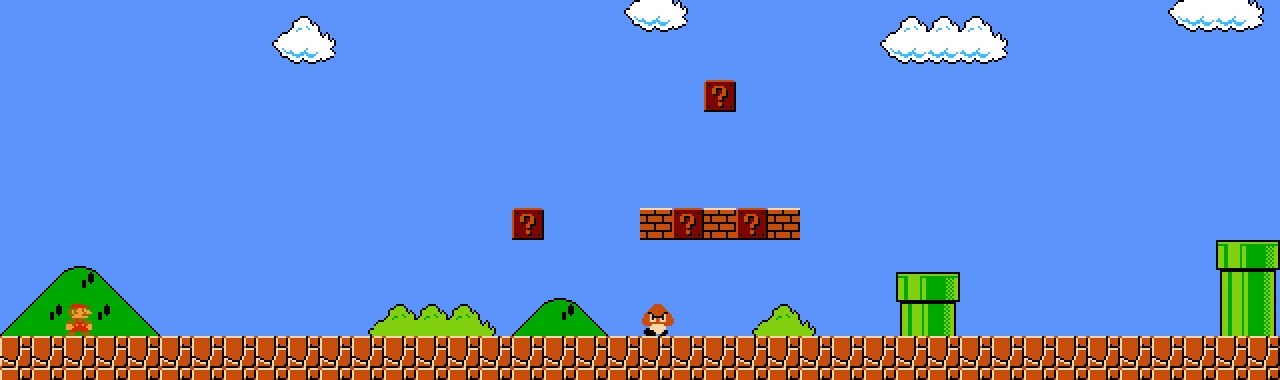
The first level teaches you the game without a single line of text, and it also hides the first secret. Right after the first pit there is an invisible block with a 1-Up Mushroom inside. Stand a block or two past the edge where you land, jump straight up into empty air, and it appears. Most players found it by accident, usually while trying to jump the gap and missing.
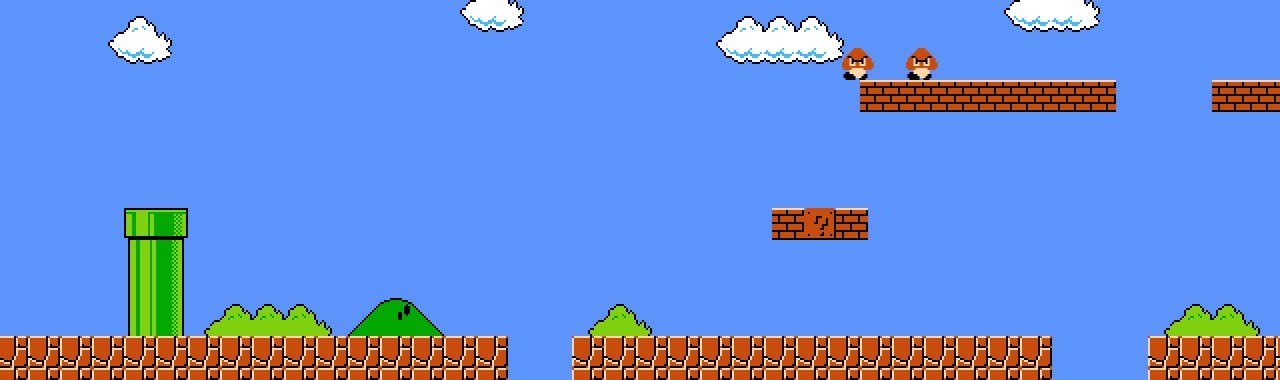
A little further on, the fourth pipe, the tall one, can be entered. Stand on top and press down. The room below is lined with coins and spits you out near the end of the level, which skips a stretch of Goombas and Koopas. It is the only pipe in 1-1 that opens, and it sets the rule for the whole game: if a pipe looks taller than its neighbours, try pressing down on it.
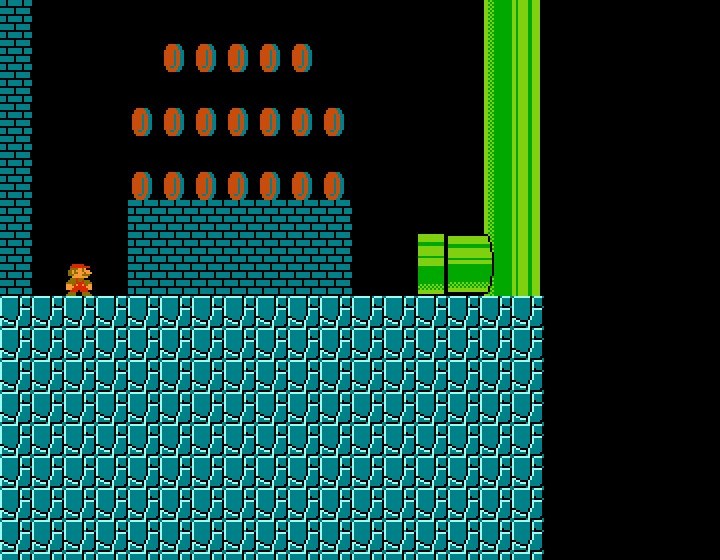
World 1-2: the first Warp Zone
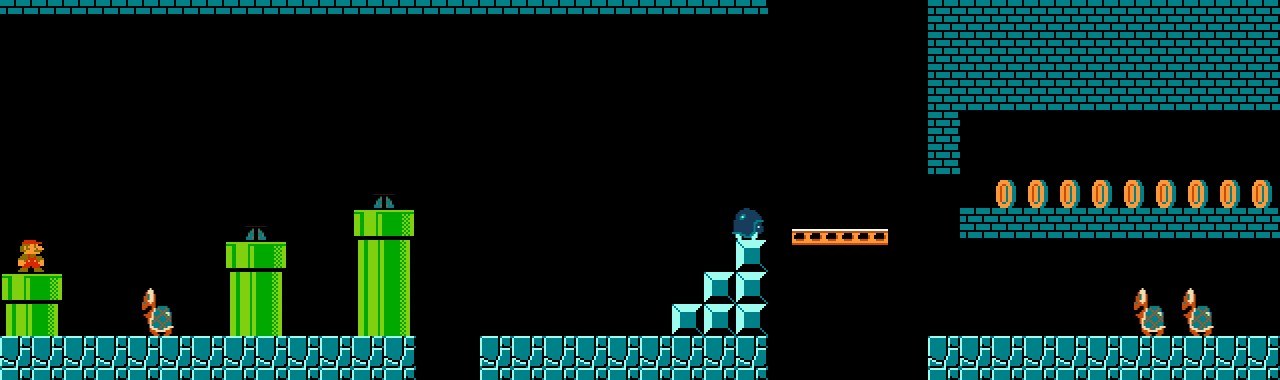
The underground level ends with the most famous shortcut in the game. Near the exit, where the ceiling opens up next to the moving platforms, you can jump onto the top row of bricks and keep running along it instead of dropping down to the exit pipe. The corridor above leads to a room with three pipes labelled 2, 3 and 4. Each one takes you to the start of that world.
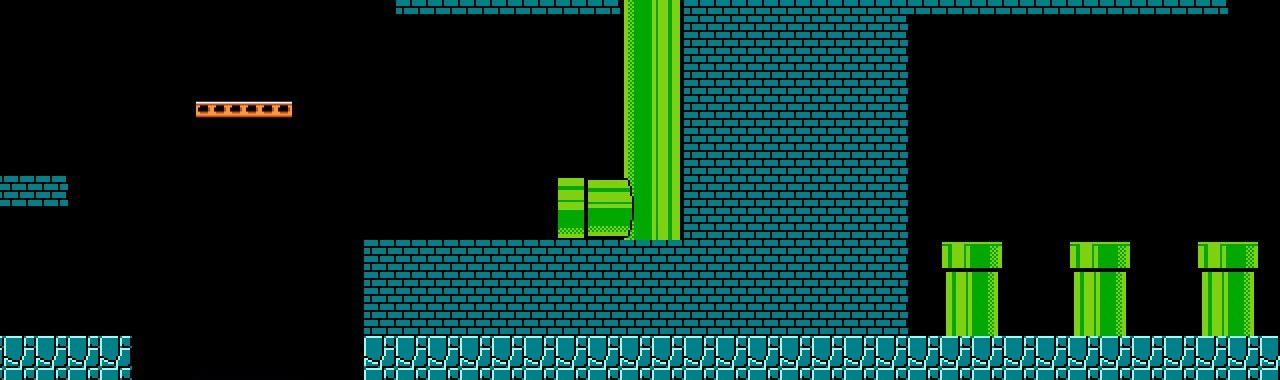
The level is also where speedrunners spend their time. With the warp to 4 and the second warp in 4-2 (below), the 32-level game shrinks to eight levels, which is why the world record sits under five minutes.
World -1: the Minus World
The same Warp Zone hides the game’s best known glitch. On the original NES cartridge, if you clip through the brick wall at the end of 1-2 instead of walking around it (crouch-jump at the wall from the left, timed so Mario slides into it while standing up), you enter the warp room before the game has loaded the pipe labels. Take the first pipe and the game sends you to World -1: a copy of the underwater level 2-2 whose exit pipe loops back to its own start. There is no way out except losing your lives.
This one does not work in our version. The Minus World depends on how the NES reads level data from memory, and a browser remake that loads levels by name has nothing to misread. If you want to see it, you need original hardware or an accurate emulator. Everything else on this page works here.
World 4-2: the vine and the second Warp Zone
4-2 is 1-2 with higher stakes. Early in the level, above the second row of bricks, one block hides a beanstalk. Hit it from below, climb, and you come out in a coin-filled sky section that ends in a second Warp Zone. These pipes go to worlds 6, 7 and 8. Combined with the first warp, that is the route that turns Super Mario Bros. into a ten-minute game.
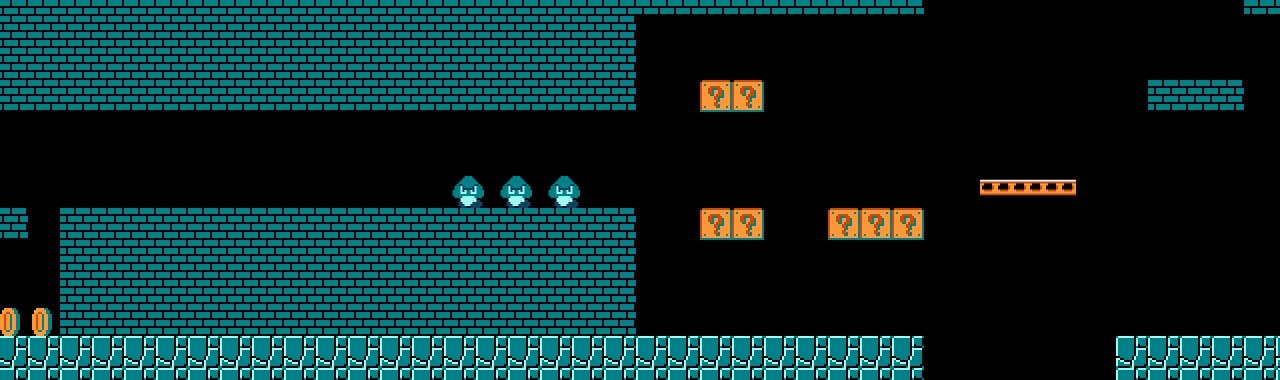
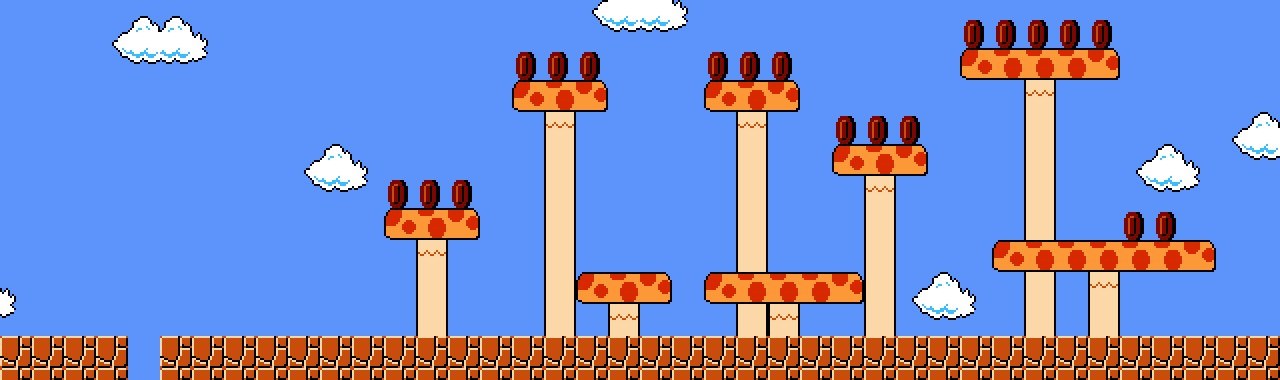
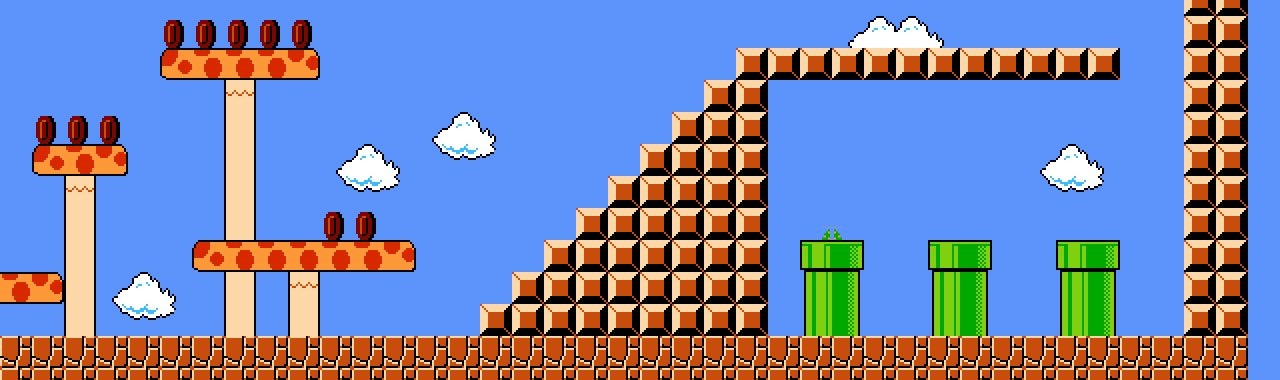
Miss the vine and the level still has a warp. The regular exit through the ceiling at the far right has a small warp room of its own with a single pipe to world 5. Either way you leave 4-2 ahead of schedule.
World 3-1: infinite 1-Ups on the staircase
Near the end of 3-1 a Koopa walks down a staircase. Stomp it on the second step from the bottom so the shell stops against the stairs, then stand on the step above it and jump on the shell as it bounces back. If you hold the position, Mario hits the shell on every bounce without landing, and every hit counts as a new kill. The score climbs 500, 800, 1000, 2000, 4000, 5000, 8000, and then the game runs out of score values and starts paying in lives instead.
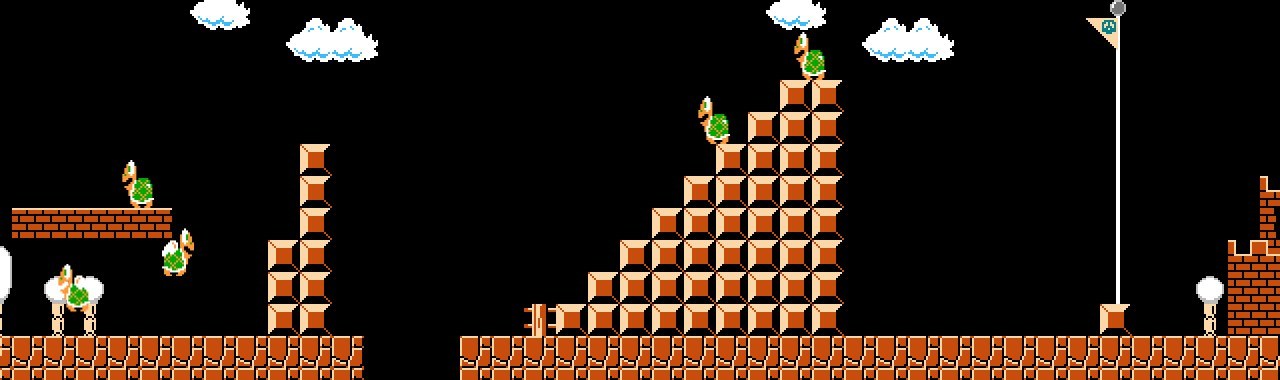
Two warnings. The timer keeps running, so stop before it reaches zero. And on the NES, the lives counter only has room for a limited number before it rolls over into garbage characters and then into a game over at the next death, so the old advice was to stop around 99. In the browser version there is no memory to overflow, so the only limit is the timer.
World 8-4: the maze that does not tell you
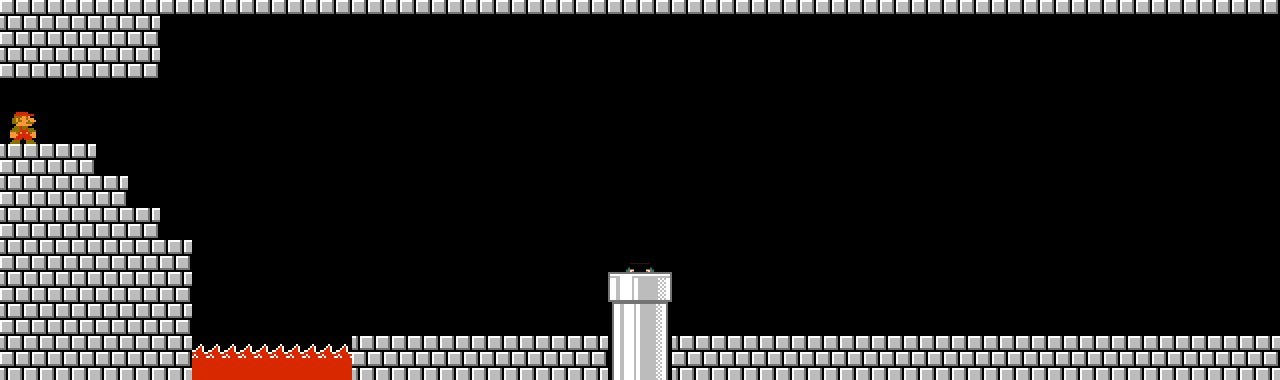
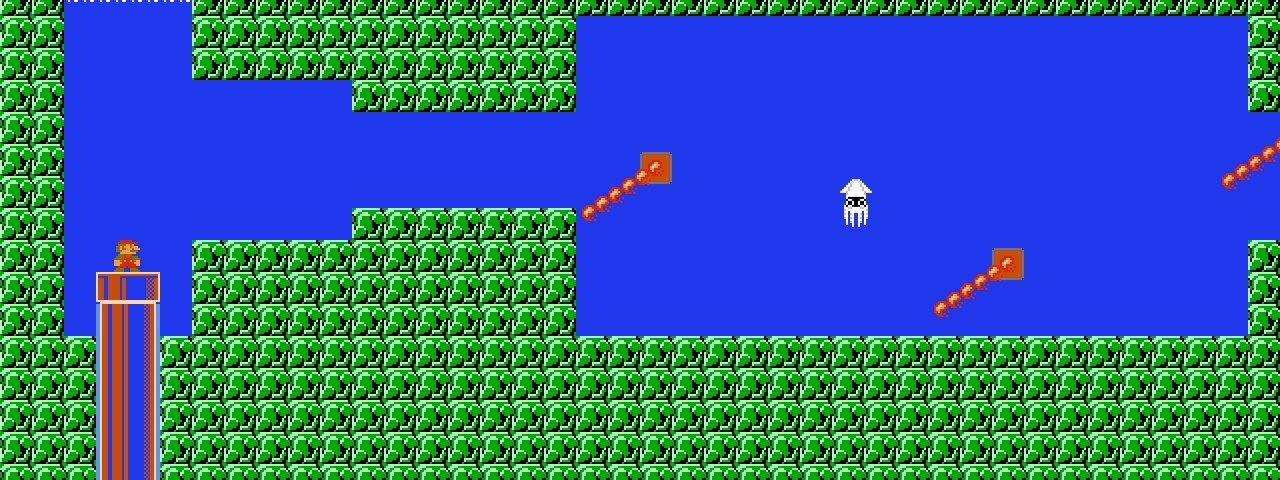
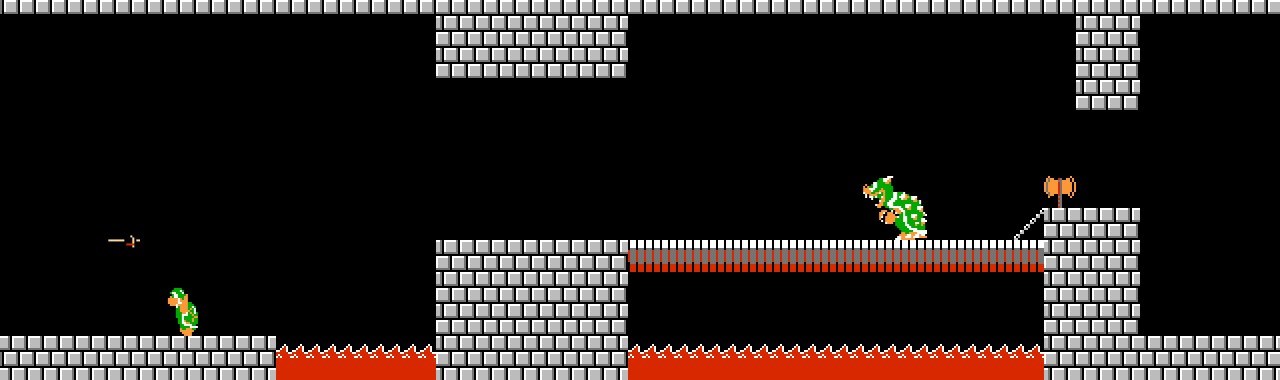
Bowser’s real castle is a pipe maze, and nothing on screen tells you when you have taken the wrong turn. The rooms simply repeat until you find the right pipe. The route: in the first room enter the first pipe you can reach. In the second, walk past the obvious pipe and take the one beyond the Piranha Plants. The third section is underwater, with Bloopers; swim through and climb out of the pipe on the right. After that comes a long corridor guarded by a Hammer Bro and then Bowser himself, who throws hammers as well as fire.
Smaller things worth knowing
Fireworks at the flagpole are not random. They go off when the last digit of the timer is 1, 3 or 6 as you touch the pole, and each one is worth 500 points. Grab the very top of the pole for 5000, and touch it from a running jump off the top stair of the staircase to get there.
Every world’s first level has a hidden 1-Up block, but from world 2 onwards it only appears if you collected enough coins in the third level of the previous world. The exact number varies by world, which is why the block seems to come and go. Collect everything in the x-3 levels and it will be there.
Coins add up across levels. One hundred of them is a life, and the counter does not reset between worlds, so the coin rooms and the sky sections are worth the detour even when you are in a hurry.
The fake Bowsers in castles 1 through 7 are ordinary enemies in a costume. Five fireballs reveal who is inside: a Goomba in 1-4, a Koopa in 2-4, a Buzzy Beetle in 3-4 and so on. The real one only appears in 8-4.
Where to try them
All 32 levels are playable individually on this site, so you do not need to replay the first world to reach the trick you want. The guides for 1-1, 1-2, 3-1, 4-2 and 8-4 go into each level in more detail, and the full level list covers the rest.